Installing Centos 7 on Node Harddrive
Note: Some of this information may become irrelevant once we get network booting fully figured out, Evan W. has already created a network boot image for CentOS 7 minimal
Be sure you can access the IPMI console
Download the CentOS 7 minimal image in the VM you can access the IPMI console from

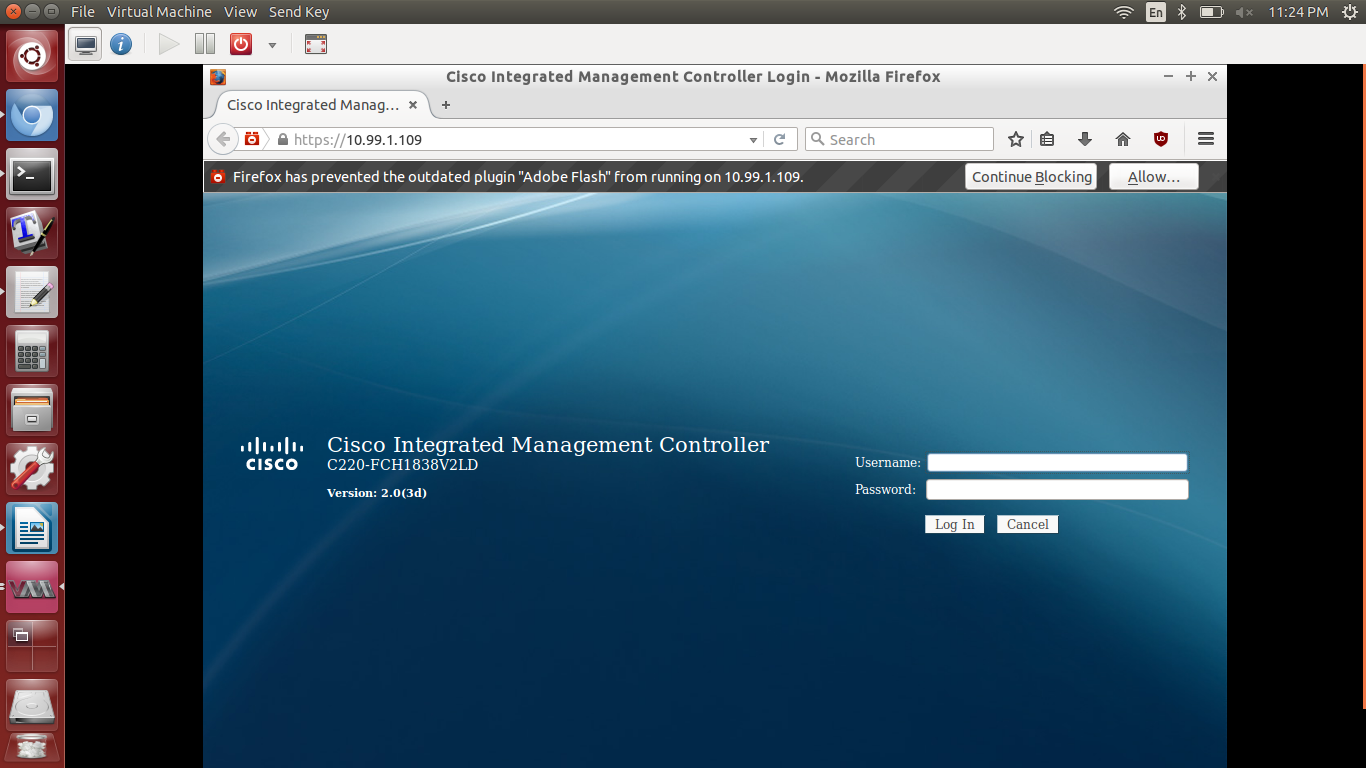
Open your preferred web browser and log into the IPMI console. (Contact the ops team if you need access.)
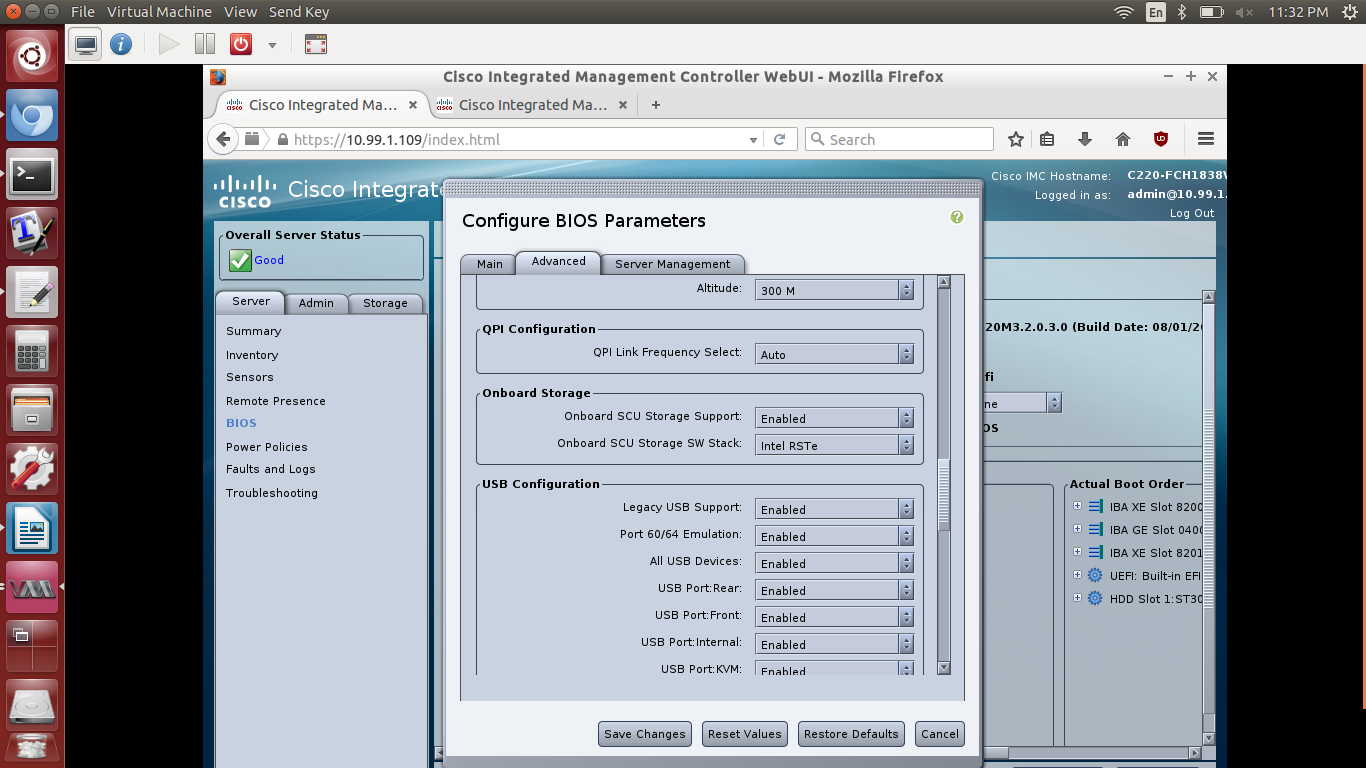
It may be necessary to perform a BIOS fix to CentOS 7 properly installs. First power off the machine…

… then go to BIOS -> Configure BIOS -> Advanced -> Onboard Storage, and make sure “Onboard SCU Store SW Stack” says “Intel RSTe”.
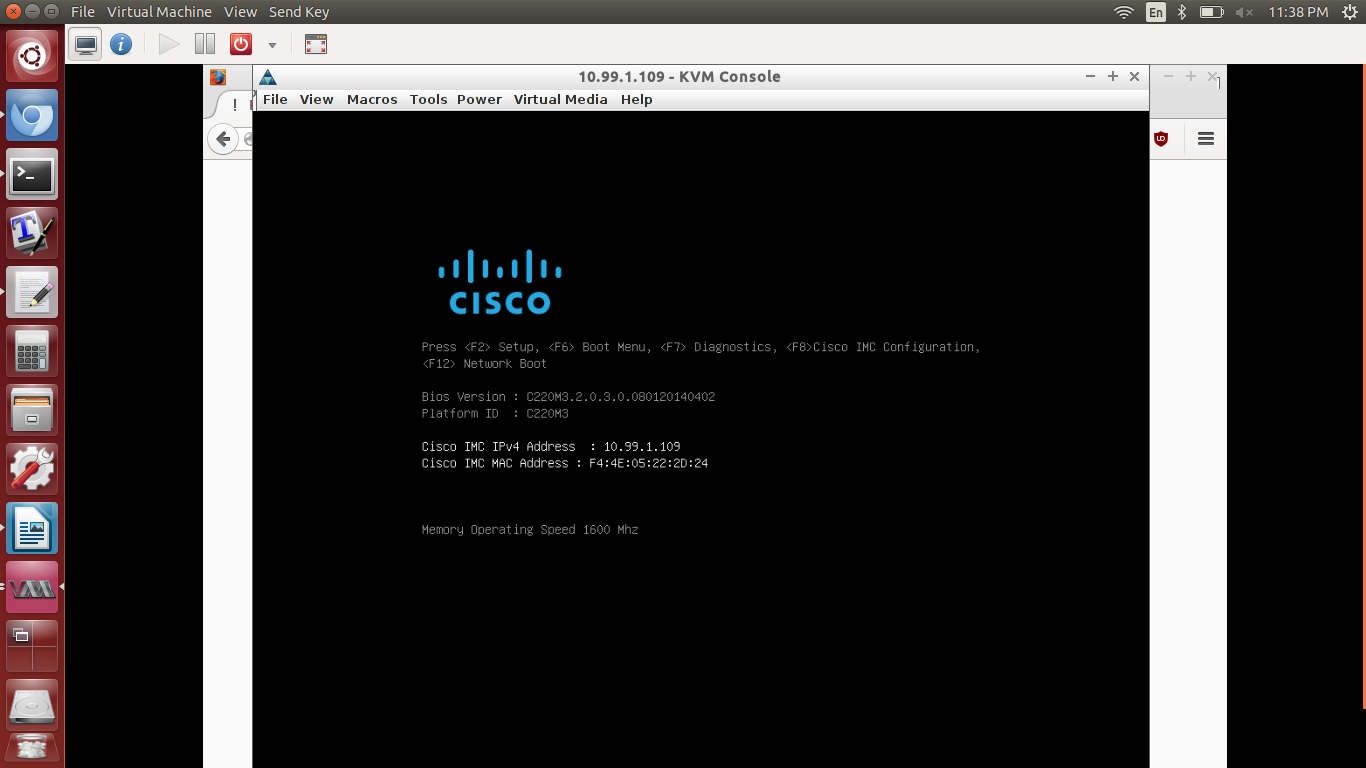
Start up the KVM console, and click “yes” and “continue” despite all the warnings. There are extra instructions on this, depending on your browser.
- Click Virtual Media -> Activate Virtual Devices, click yes on warning.
- Click Virtual Media -> Map CD/DVD -> Browse -> Select CentOS 7 image -> Click Map Device.
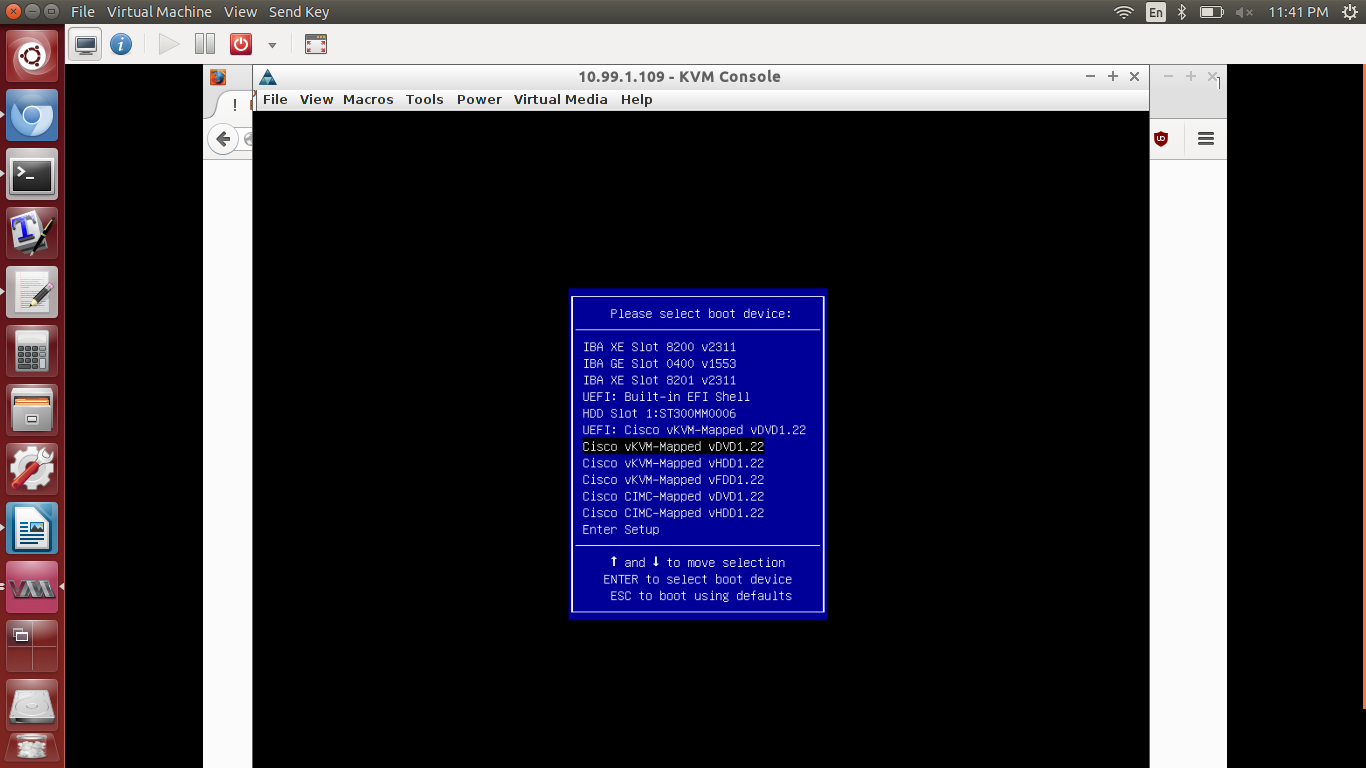
Power on server, go to KVM console, and hit F6 to access the boot menu.
Choose the boot device “Cisco vKVM-Mapped vDVD1.22”.
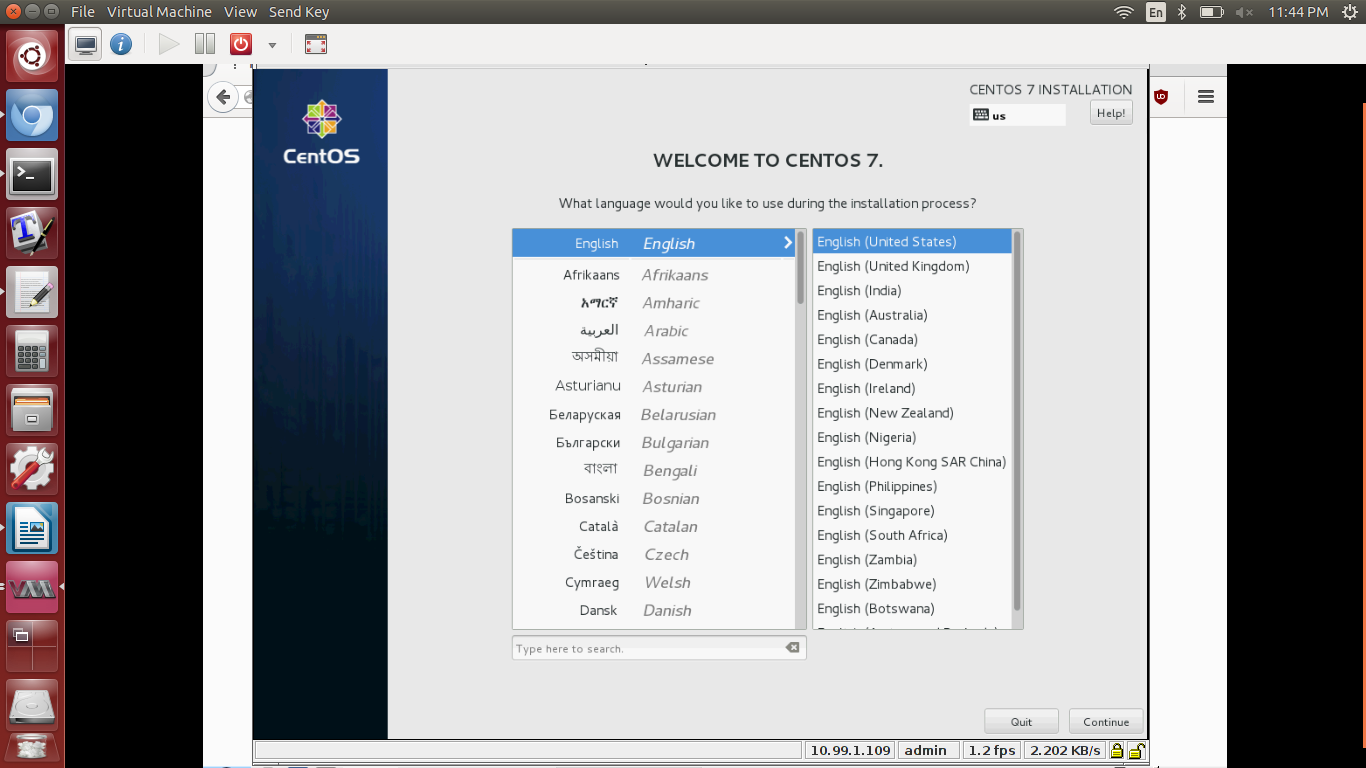
Choose “Install CentOS 7” from the options.

Unless you’re better at foreign languages than me, pick the install language as English.
Click “Software Selection”, choose “Compute Node”. I’ve only tried the default settings.

Note: THE NEXT STEPS NEED TO BE FOLLOWED EXACTLY, OTHERWISE THE INSTALLER CRASHES AND YOU NEED TO RESTART FROM “POWER ON SERVER”
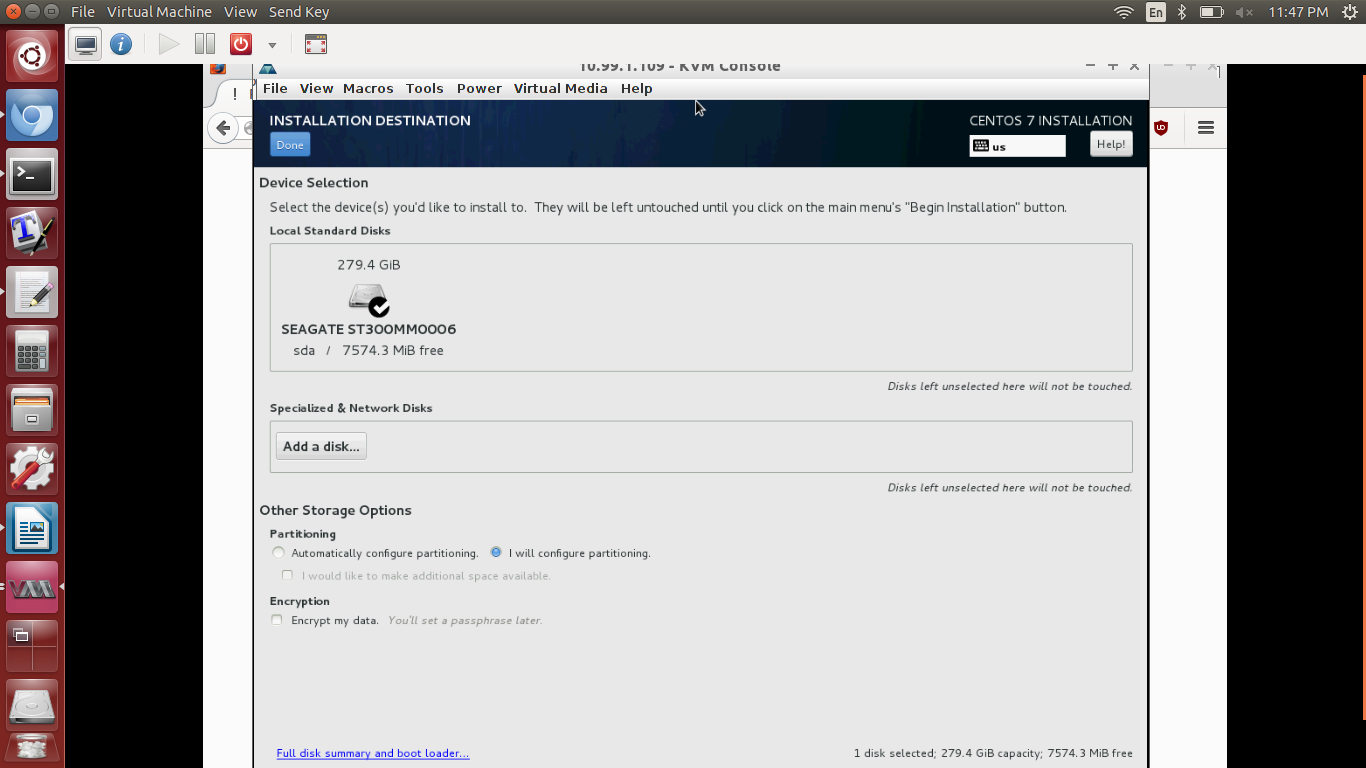
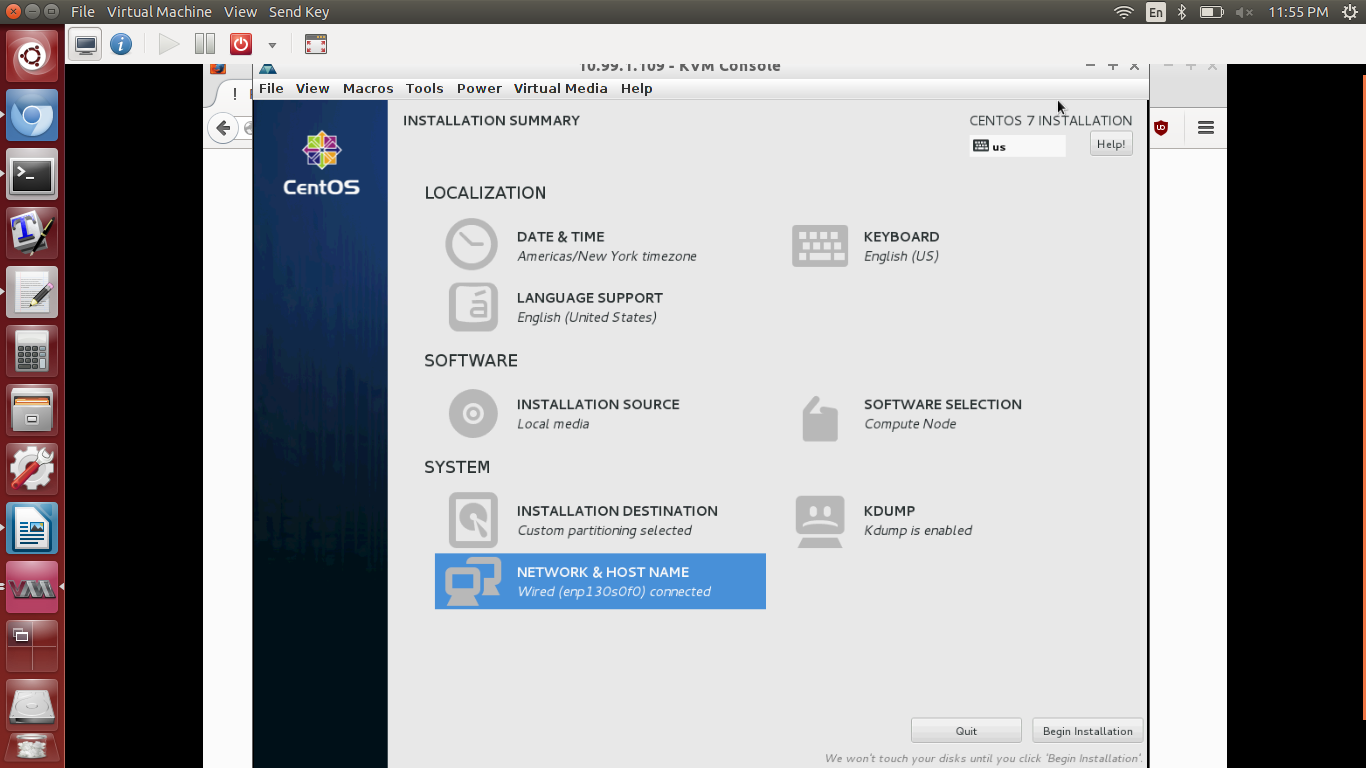
Click “Installation Destination”.
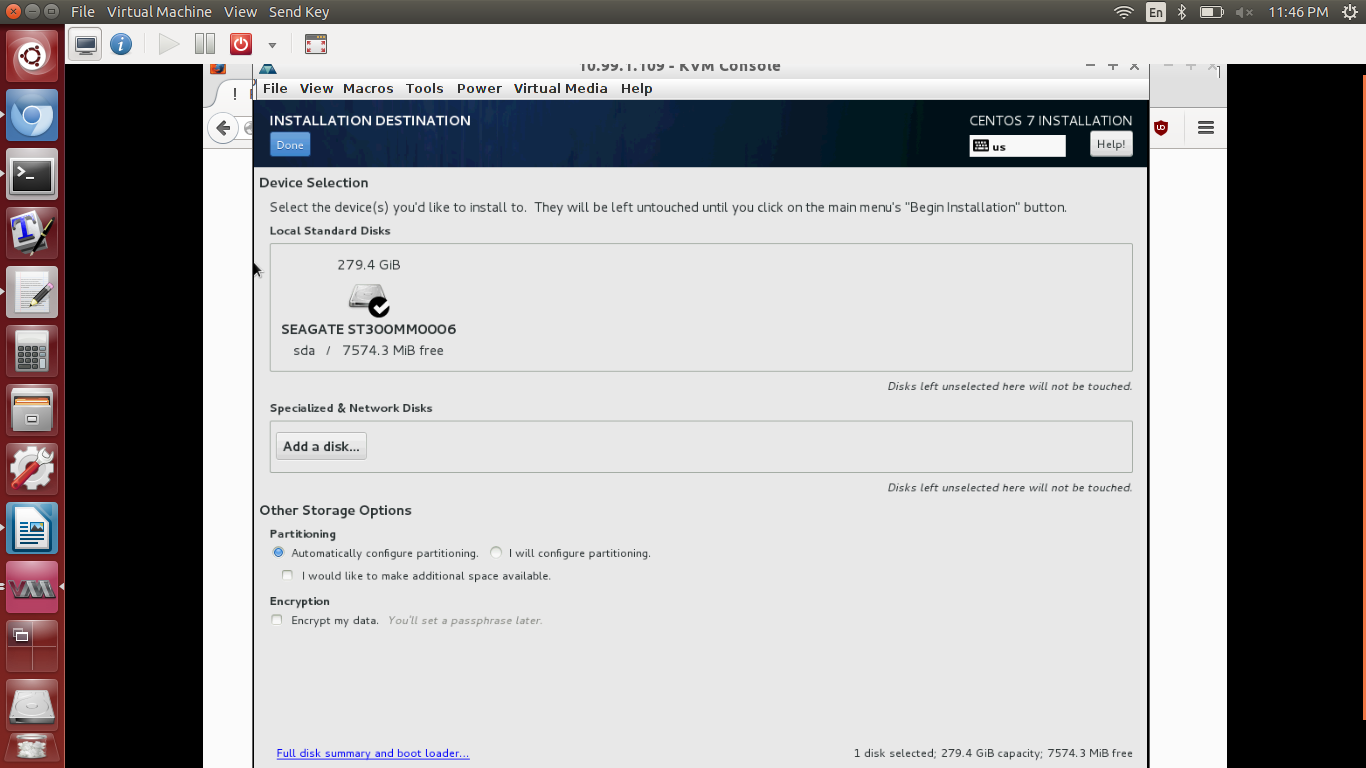
Under “Other Storage Options” -> “Partitioning”, click “I will configure partitioning.”
Click “Done,” which brings you to “Manual Partitioning”.
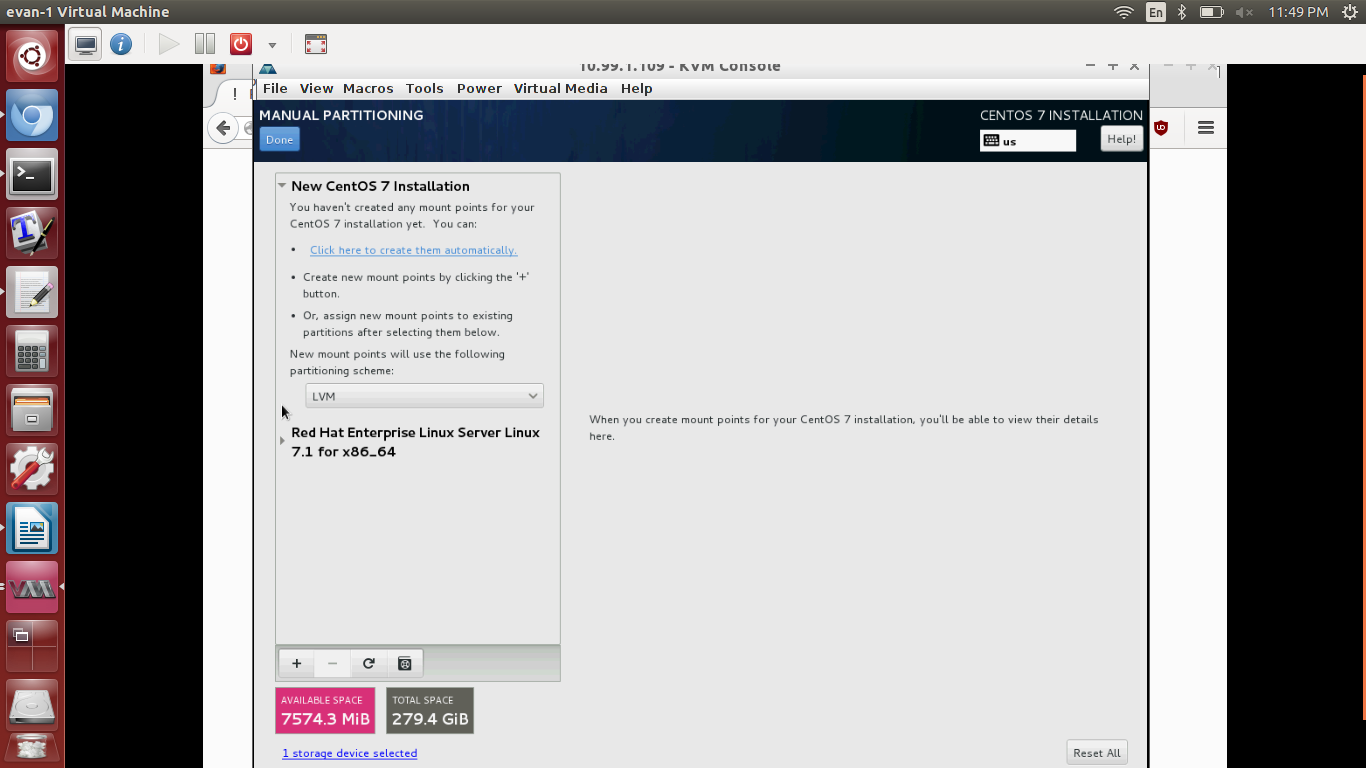
If there are any listed entries besides “New CentOS 7 Installation”, delete them by clicking on the listed entries then pressing the “-” button below.
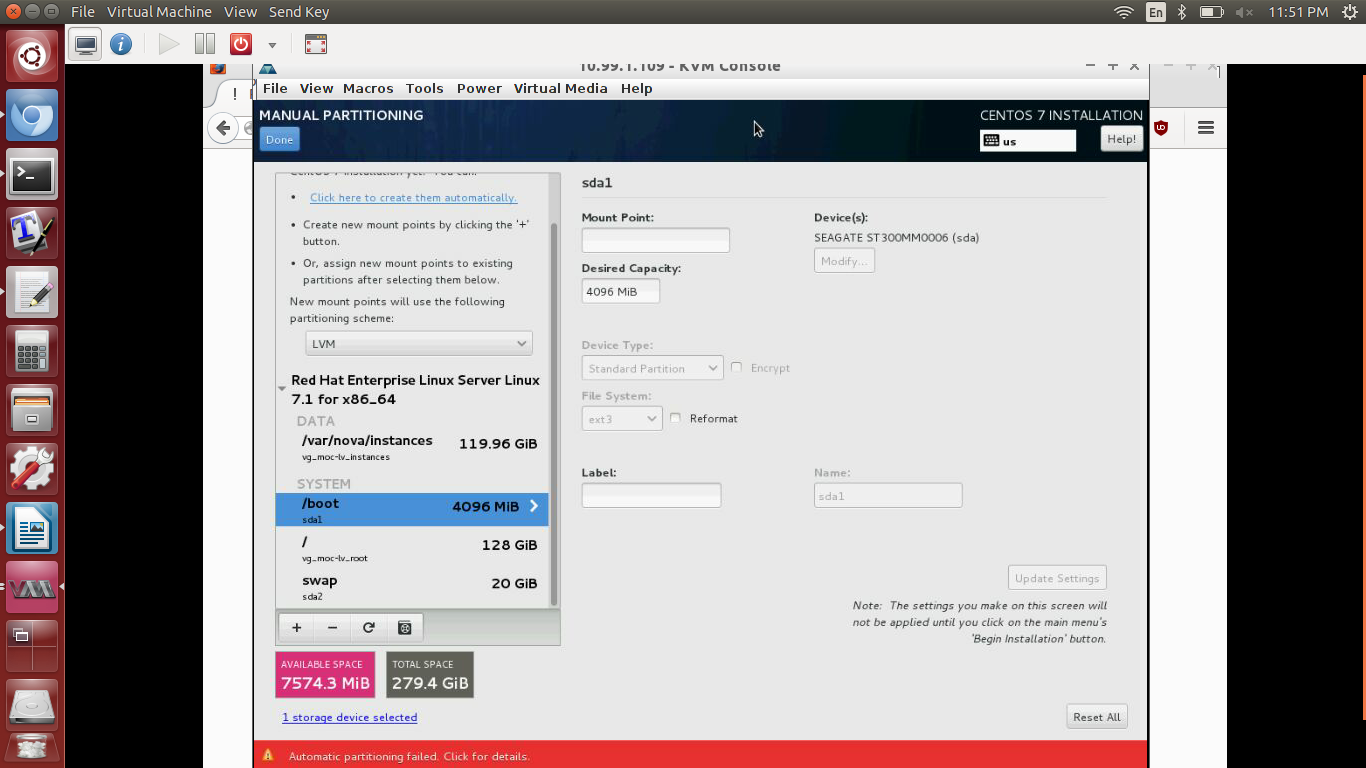
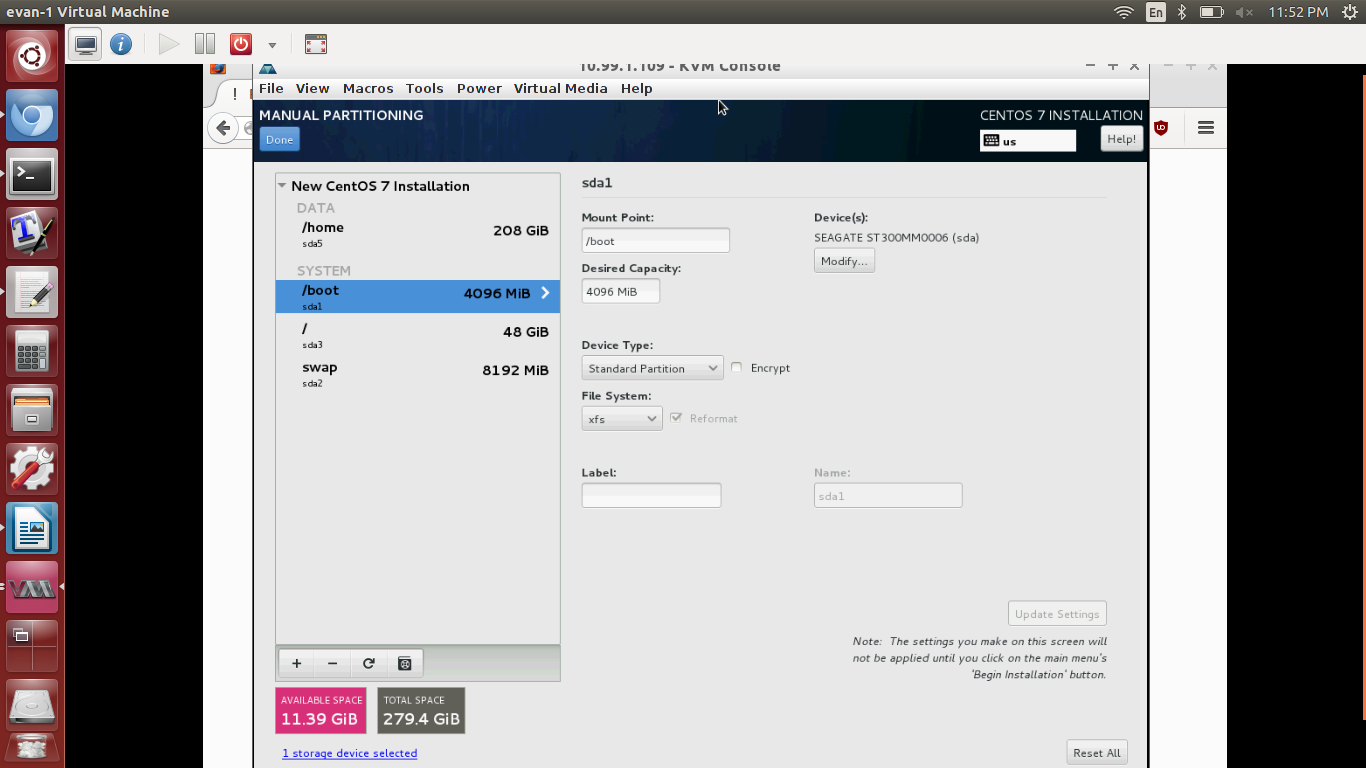
Under “New CentOS 7 Installation” → “New mount points will use the following partitioning scheme:”, pick “Standard Partition”. Remark: Partitioning as LVM ultimately is what causes the issue I warned about.) Next, click “Click here to partition them automatically.”
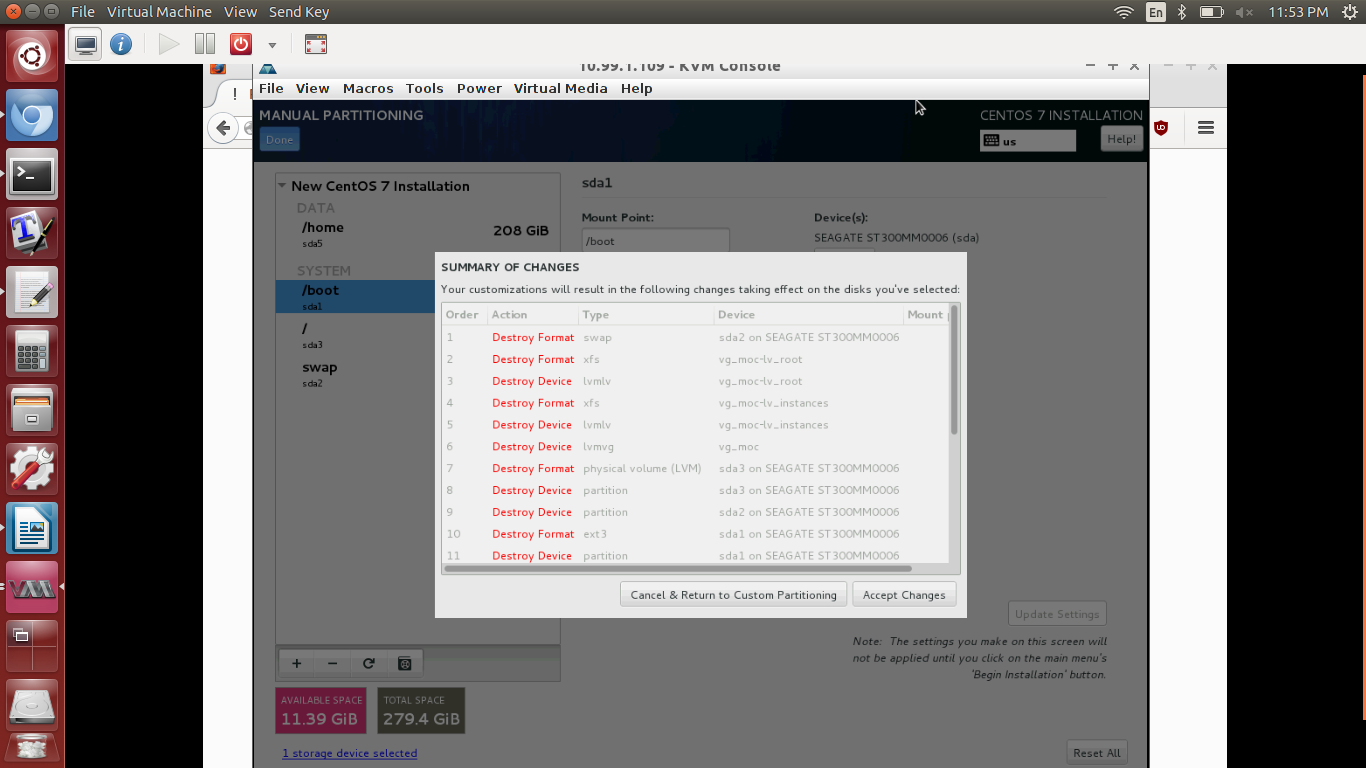
Click “Done”, and then in the below window click “Accept Changes”.
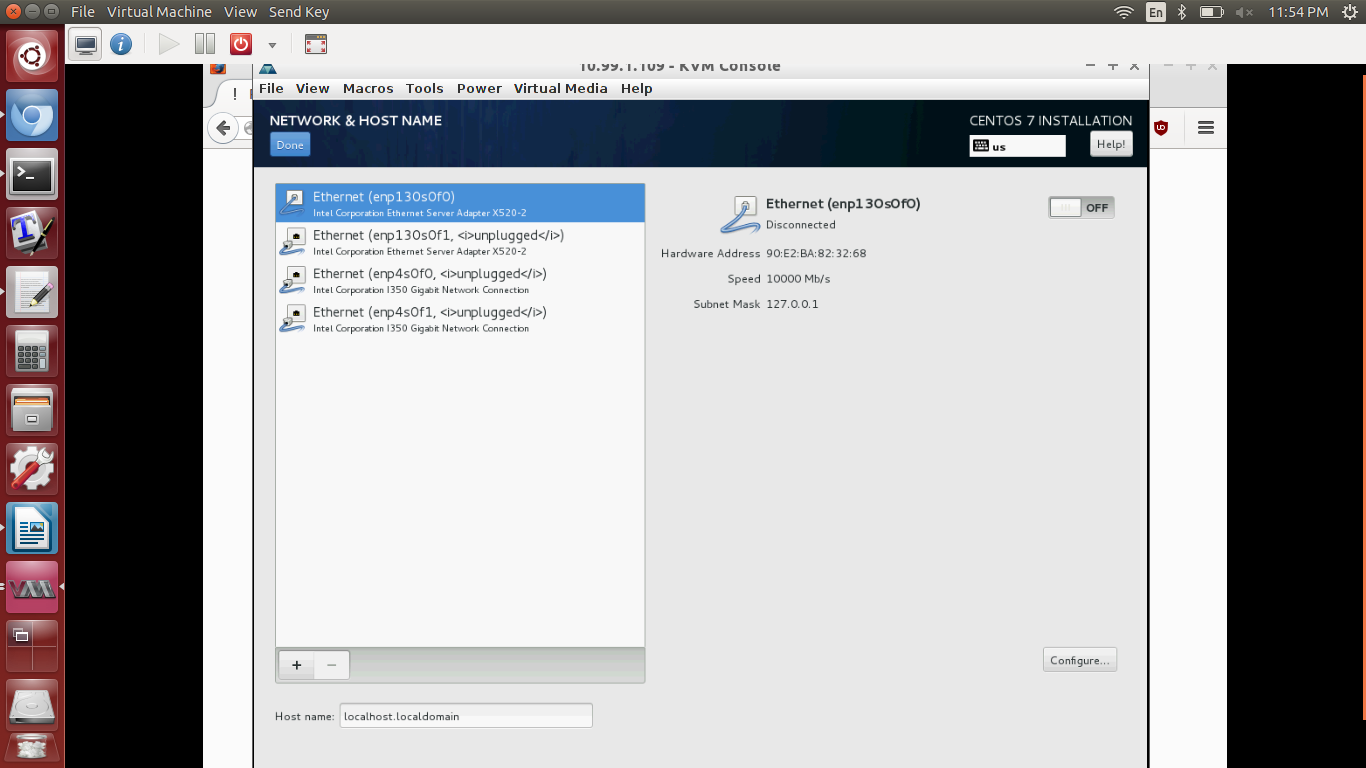
Click “Network & Host Name”.

Depending on the node, select “Ethernet (enp130s0f0)” or “Ethernet (enp6s0f0)”, -> On. Click “Done.”
Click “Begin Installation”.
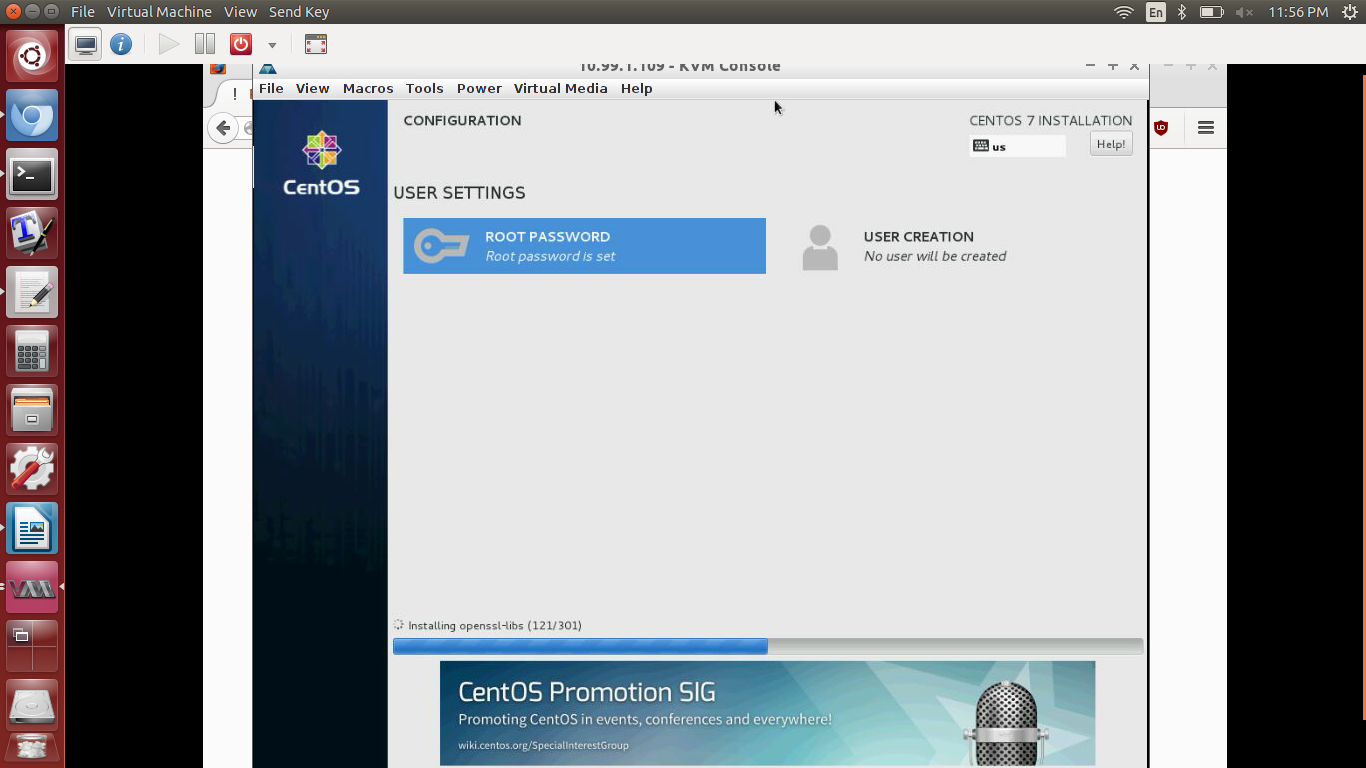
Click “Set Root Password”.

Set a root password as appropriate, then click “Done”. (You may have to do this twice if CentOS 7 deems your password weak.)

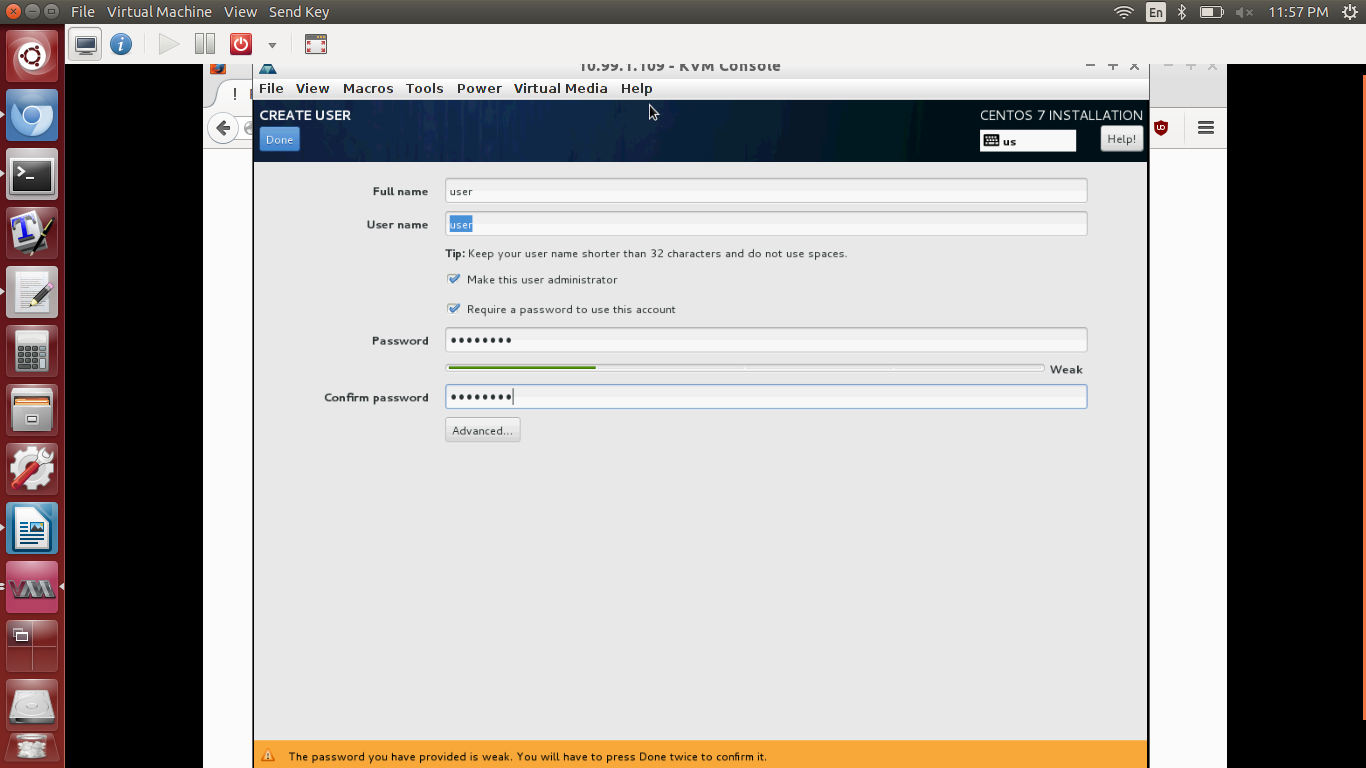
Click “User Creation”.
Enter a username and password. I chose to click to make the user an administrator to use “sudo” without going to “su”. Next, click “Done”. (You may have to do this twice if CentOS 7 deems your password weak.)
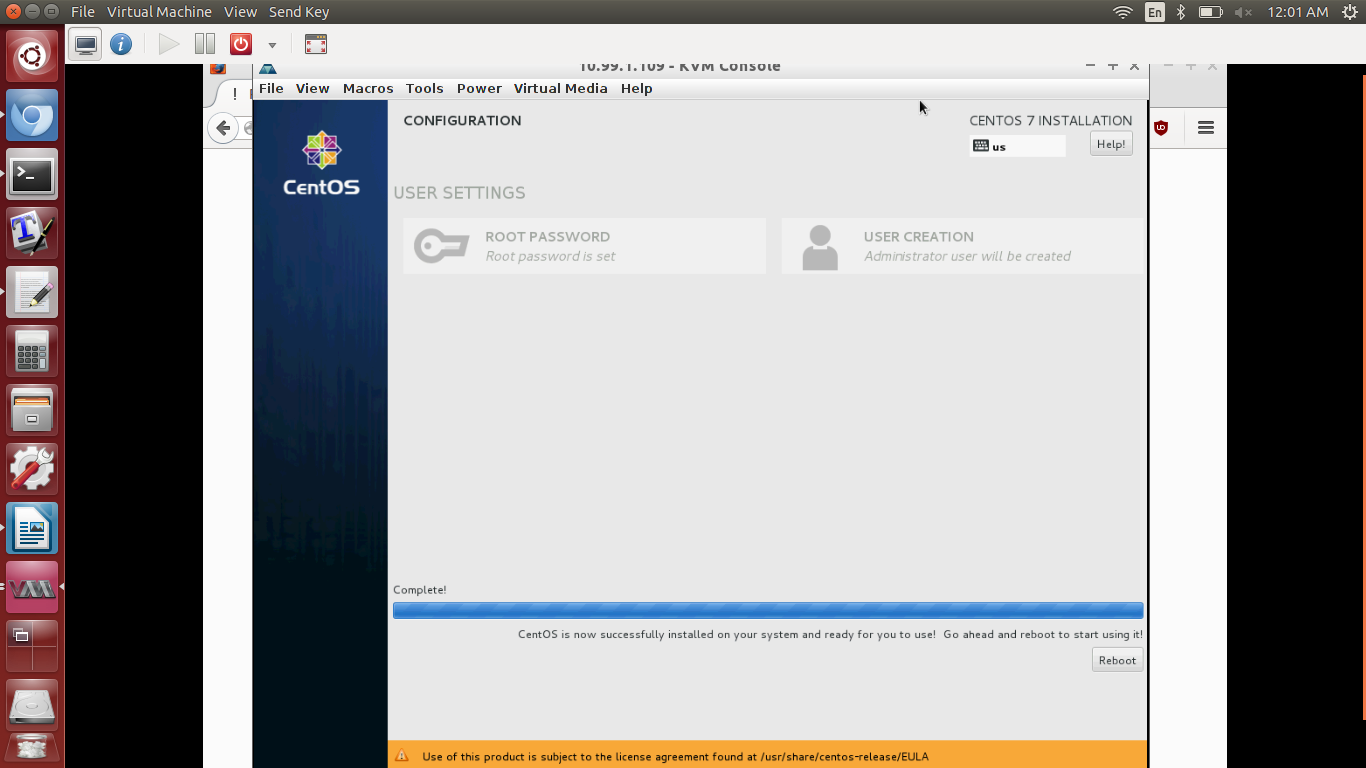
Wait! Your CentOS 7 install is finishing up. Click “Reboot” when it’s done!
Enjoy!